Starting your fashion design journey requires more than creativity; having the right beginner fashion design toolkit is essential to transforming your ideas into reality. Whether you’re sketching your first designs, cutting fabric, or sewing a garment, the tools you use can significantly impact your success.
This guide will explore the must-have tools every aspiring fashion designer needs, from high-quality sketching supplies to essential sewing equipment. Investing in the right tools from the start will not only improve your design process but also set the foundation for your growth as a fashion designer.
Introduction to Fashion Design Tools
As a beginner, it's important to familiarize yourself with the basics, such as sketchbooks, measuring tapes, and fabric scissors, as well as more advanced tools like sewing machines and pattern-making kits. Having the right tools at your disposal not only streamlines your design process but also enhances the quality of your work, allowing you to create garments that stand out in the competitive world of fashion.
Why Having the Right Tools is Essential for Beginners
As a beginner, investing in essential fashion design tools not only helps you develop your skills but also builds your confidence in creating high-quality garments. With the right toolkit, you can avoid common mistakes and focus on honing your craft, setting a strong foundation for a successful career in fashion design.
Understanding the Basics of a Fashion Design Toolkit
For beginners, it's important to focus on acquiring fundamental tools such as a reliable set of drawing supplies, accurate measuring instruments, sharp cutting tools, and a beginner-friendly sewing machine. Each of these tools plays a specific role in helping you bring your creative visions to life with precision and professionalism.
Essential tools for a beginner fashion design toolkit
1.Drawing and Sketching Tools
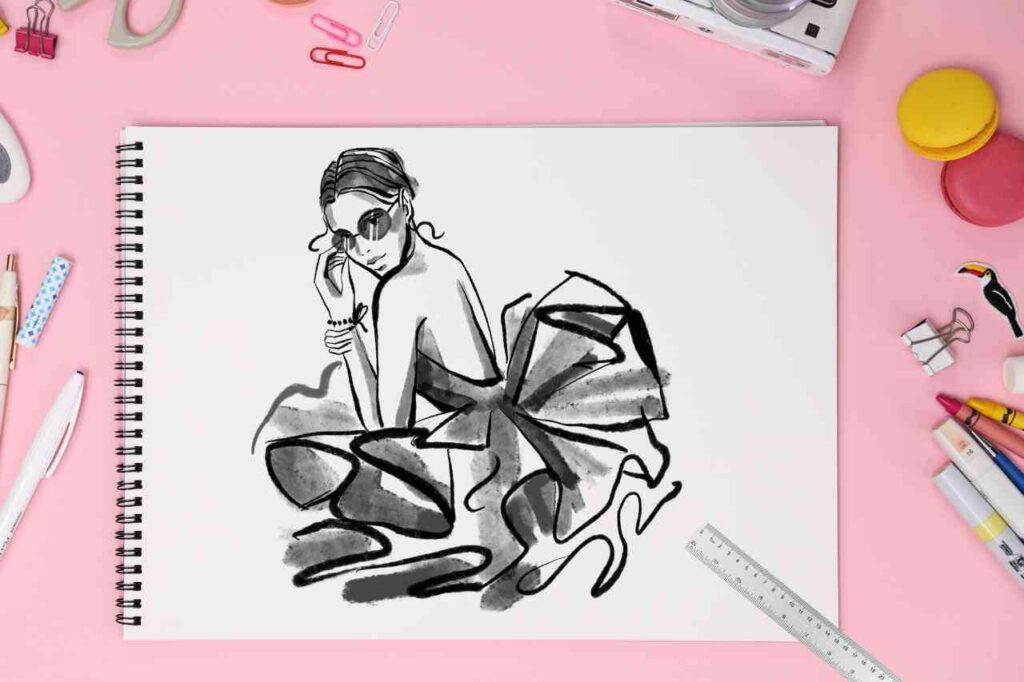
a. Sketchbook
A high-quality sketchbook is a must for every fashion designer. It serves as a canvas for your creative ideas, allowing you to visualize and refine your designs before moving to the construction phase. Opt for paper that can handle various mediums like pencil, ink, and markers without bleeding through.
b. Pencils
A versatile set of pencils, ranging from HB to 4B, is essential for sketching fashion designs. The different hardness levels allow you to create both fine lines and bold strokes, giving depth and detail to your illustrations.
c. Erasers
Precision erasers are crucial for making clean corrections in your sketches. Whether you're fine-tuning details or removing entire sections, a good eraser helps you keep your designs looking professional and polished.
d. Markers
Markers are perfect for adding vibrant colors and shading to your fashion sketches. They allow you to experiment with different color combinations and bring your designs to life with depth and texture.
e. Colored Pencils
Colored pencils offer a subtle way to add color to your sketches. They’re ideal for layering colors, creating gradients, and adding intricate details to your designs.
e. Fine-Tip Pens
These pens are essential for outlining your sketches and adding intricate details. Fine-tip pens offer precision and help define the contours of your designs, making them stand out.
f. Rulers
Clear rulers are indispensable for drawing straight lines and taking measurements. They help ensure accuracy in your sketches, especially when drafting technical drawings or creating patterns.
2. Measuring Tools
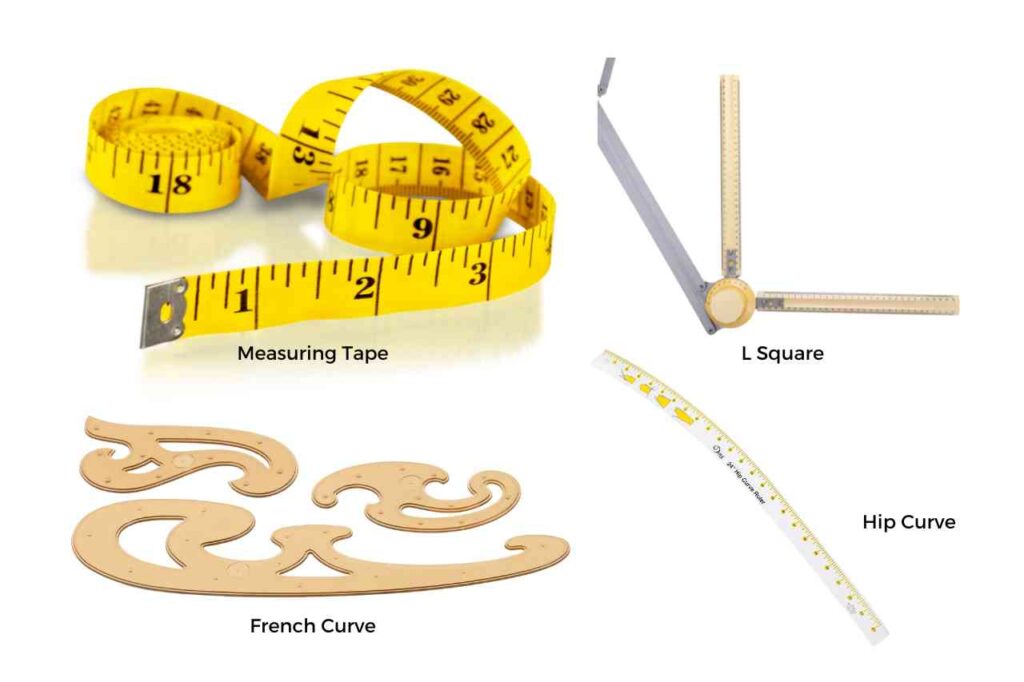
a) Measuring Tape
A flexible measuring tape is essential for taking accurate body measurements. It’s a fundamental tool for ensuring that your designs will fit as intended, especially when working with patterns.
b) French Curve
The French curve is a specialized ruler used for drawing smooth curves, essential for creating elegant lines in your patterns and designs. It’s particularly useful for armholes, necklines, and other curved edges.
c) L-Square
An L-square ruler helps you draft right angles and straight lines with precision, making it an essential tool for pattern making and garment construction.
d) Hip Curve
This tool is specifically designed to shape curves like the hip line on patterns, ensuring that your garments will have a smooth, flattering fit.
3. Cutting Tools
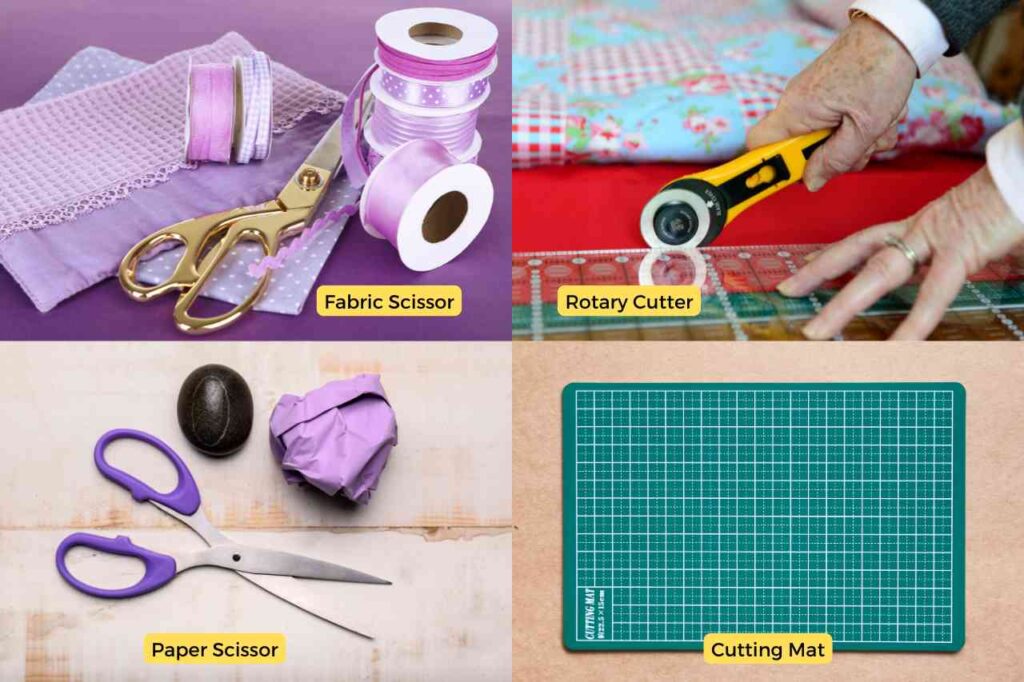
a) Fabric Scissors
Fabric scissors are specially designed to cut through fabric cleanly without fraying. Investing in a high-quality pair ensures that your cuts are precise and your fabric edges remain smooth.
b) Paper Scissors
These are separate from your fabric scissors and used solely for cutting patterns and other paper materials. Keeping these scissors separate ensures that your fabric scissors remain sharp.
c) Rotary Cutter
A rotary cutter is a precision tool that allows you to cut fabric with a rolling blade. It’s especially useful for cutting straight lines and curves with accuracy, and it works best when paired with a cutting mat.
d) Cutting Mat
A self-healing cutting mat protects your work surface and ensures clean cuts when using a rotary cutter. It’s a must-have for maintaining the longevity of your cutting tools.
4. Sewing Tools
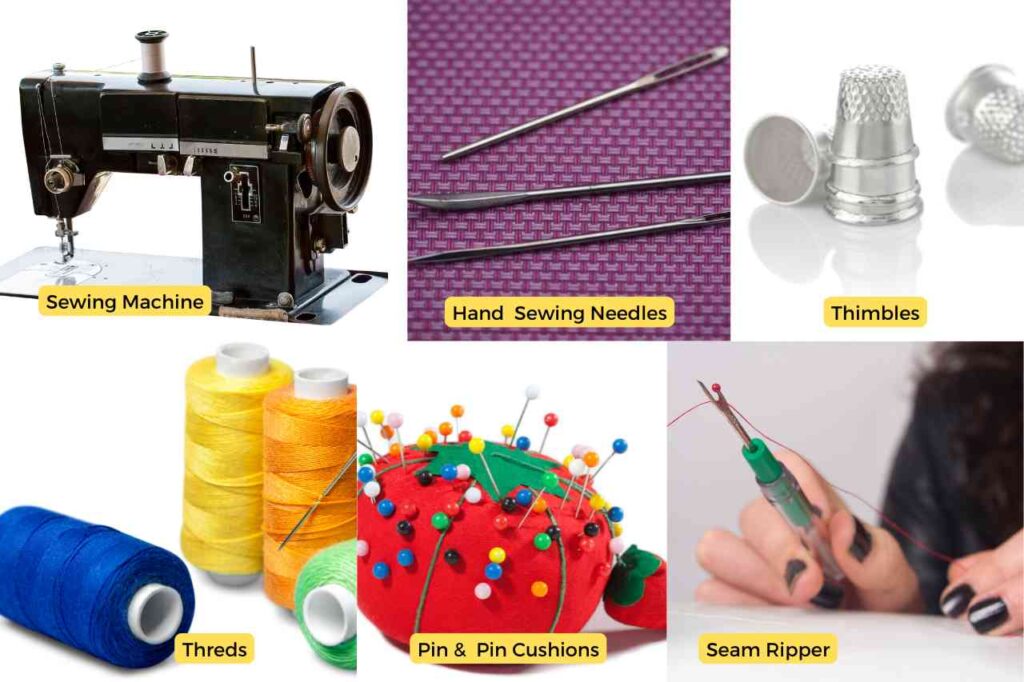
a) Sewing Machine
A beginner-friendly sewing machine with basic stitch options is essential for constructing garments. It speeds up the sewing process and provides consistent, professional-looking stitches.
b) Hand Sewing Needles
Hand sewing needles are vital for detailed work, such as hemming, attaching buttons, and finishing edges. A variety of needle sizes allows you to work with different fabrics and thread types.
c) Thread
High-quality thread is essential for sewing garments. Having a range of colors on hand ensures that you can match your thread to your fabric, resulting in clean, invisible seams.
d) Seam Ripper
Mistakes happen, and a seam ripper is the tool to fix them. It allows you to remove stitches cleanly without damaging the fabric, making it easier to correct errors.
e) Pins and Pin Cushion
Pins hold your fabric in place while you sew, ensuring accuracy and preventing fabric from shifting. A pin cushion keeps your pins organized and within easy reach.
f) Thimble
A thimble protects your finger while hand sewing, especially when working with thick fabrics or when pushing needles through multiple layers.
5. Pattern Making Tools
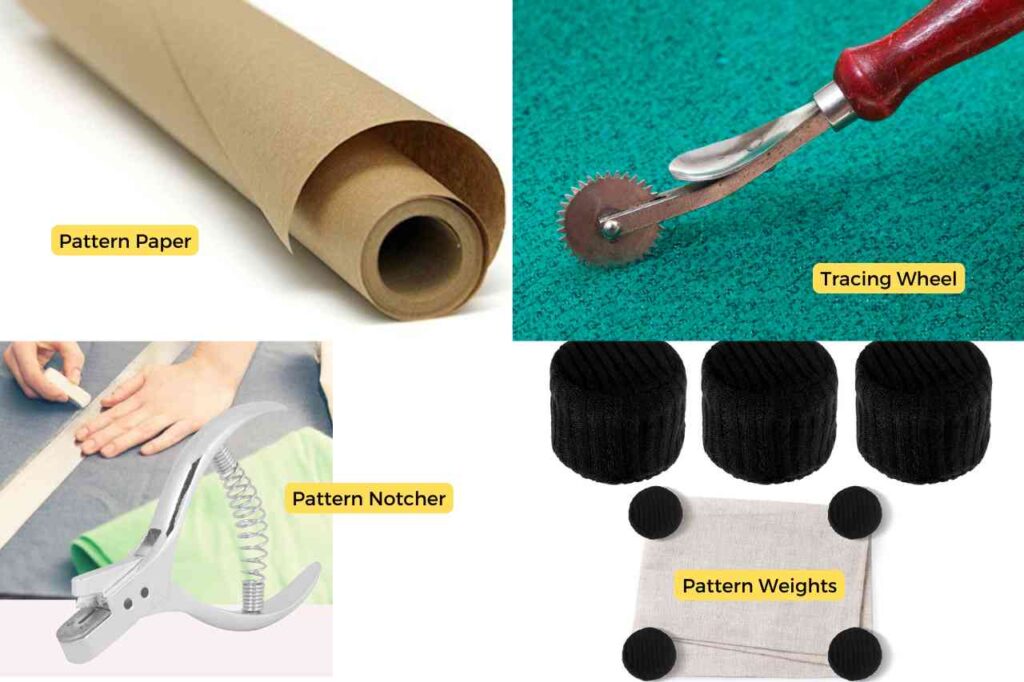
a) Pattern Paper
Pattern paper is used to draft your garment patterns. It’s durable enough to withstand repeated use and is essential for creating templates that you can use again and again.
b) Tracing Wheel
A tracing wheel is used to transfer pattern markings onto fabric. It’s particularly useful for marking seam allowances, darts, and other important construction details.
c) Pattern Notcher
A pattern notcher creates small notches in your patterns, which are essential for aligning pattern pieces during construction. It helps ensure that your garments are assembled accurately.
d) Pattern Weights
These weights hold your pattern pieces in place on the fabric without the need for pins, making the cutting process easier and more precise.
6. Fabric Handling Tools
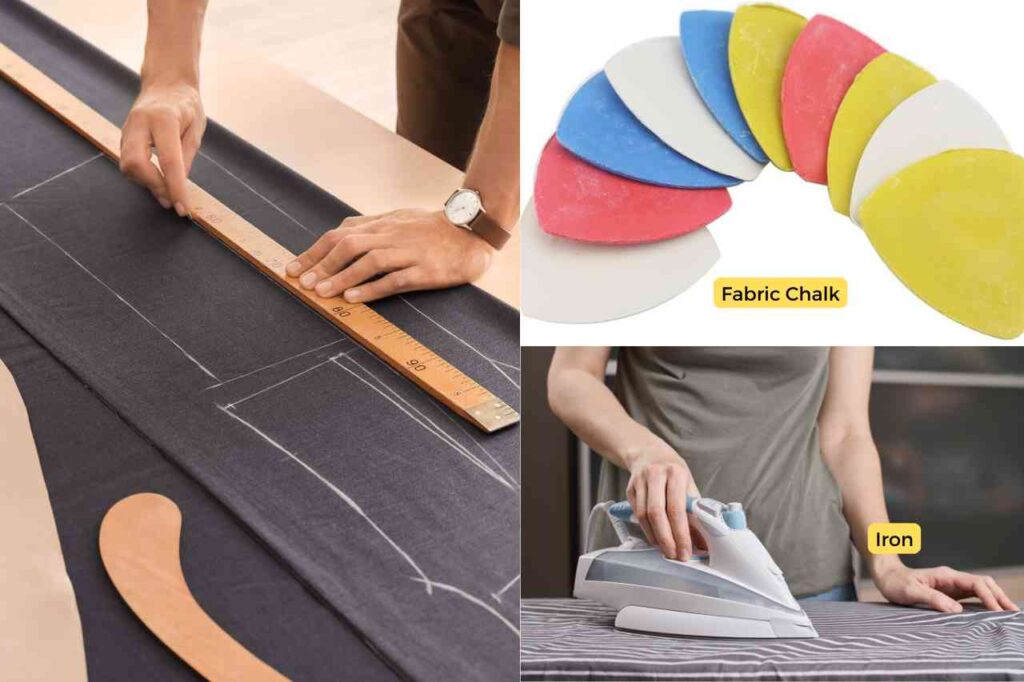
a) Fabric Chalk or Pens
Fabric chalk or marking pens are used to make temporary markings on fabric. They are essential for transferring pattern markings, indicating cutting lines, and ensuring accurate assembly.
b) Tailor’s Chalk
Tailor’s chalk is another option for making temporary marks on fabric. It’s easy to use and washes out easily, making it ideal for marking construction lines and seam allowances.
c) Iron and Ironing Board
Pressing your fabric and seams with an iron ensures that your garments have a polished, professional finish. It’s an essential tool for pressing out wrinkles and setting seams.
7. Additional Tools
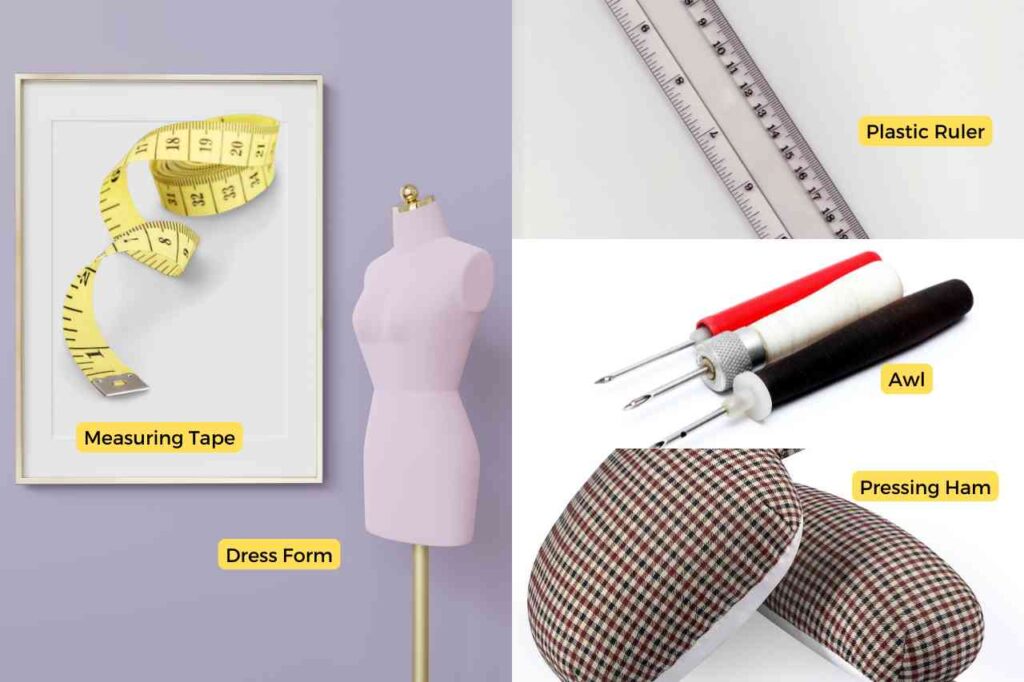
a) Dress Form
A dress form is a three-dimensional mannequin used for draping and fitting garments. It allows you to see how your designs will look on a body and make adjustments for a better fit.
b) Clear Plastic Ruler
A clear plastic ruler is useful for measuring and drawing straight lines on fabric or patterns. Its transparency allows you to see your work clearly, ensuring accuracy.
c) Awl
An awl is used for making small holes in fabric, which are needed for inserting buttons, grommets, or other fasteners. It’s a simple but essential tool for adding finishing touches to your garments.
d) Fashion Tape
Double-sided fashion tape is used for temporarily holding fabric pieces together or securing garments in place during fittings. It’s a versatile tool for quick adjustments and on-the-go fixes.
e) Pressing Ham
A pressing ham is used to press curved areas of a garment, such as sleeves and darts. It helps you achieve smooth, wrinkle-free curves, giving your garments a professional finish.
Conclusion: Building Your Fashion Design Toolkit
Building your fashion design toolkit is a crucial step in starting your journey as a designer. By equipping yourself with the essential tools, you set a strong foundation for your creative process and ensure that you can bring your designs to life with precision and confidence. From sketching and measuring to cutting and sewing, each tool in your toolkit plays a vital role in transforming your ideas into professional-quality garments. As you advance in your fashion design career, you may find the need to expand or upgrade your toolkit, but starting with these basics will provide you with the skills and knowledge needed to excel.
Discover more from TEJASWINI
Subscribe to get the latest posts sent to your email.

